DIY Spinning Astronaut Board
Fri, Jul 31, 2020
Spinning helps children to figure out their balance and their centre. As an activity, it uses both sides of the brain, therefore helping to use two sides of the body. Incredible really!
Part of Evelina’s therapy is spinning - it is a great vestibular activity for her but now she’s getting bigger, it’s getting more difficult and it’s only a matter of time before I crush my foot spinning her Triton!
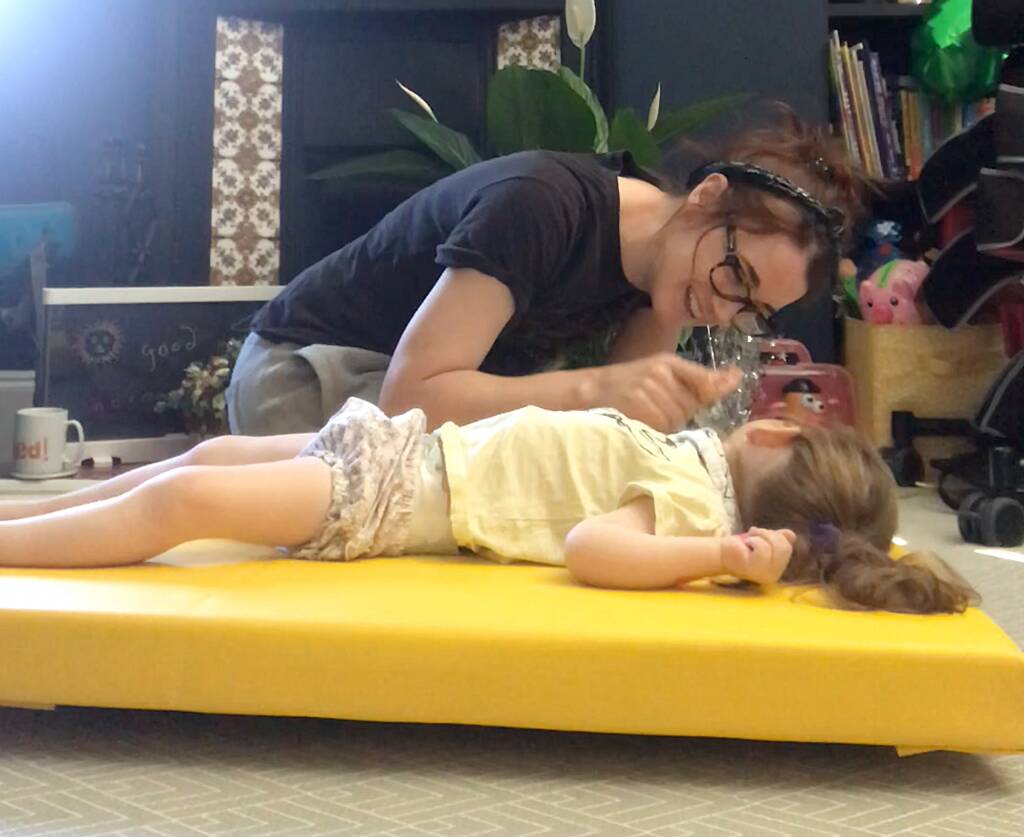
The vestibular system is centred in the inner ear and is not just about balance, it also is very important for muscle tone, posture, coordination, space awareness, vision and eye movements, the inhibition of primitive reflexes, speech, hearing and language development! [Lemon Lime Adventures]
Children learn how to activate and strengthen muscles during swinging, spinning, rocking, bouncing… all those kinds of activities.
Spinning helps children to figure out their balance and their centre. As an activity, it uses both sides of the brain, therefore helping to use two sides of the body. Incredible really!
So I made a Spin Board. Or an Astronaut Board. For less than £90 (bearing in mind I already had the fabric) and minimal DIY skills. I’m actually very surprised at how easy this is. It could be much cheaper than this too but we don’t have the space to be using the jigsaw so I bought all of the wood pre-cut to the specific size, which made it a very quick job!
Here is the step by step of how I made it.
(All sizes and links at the bottom of this post)
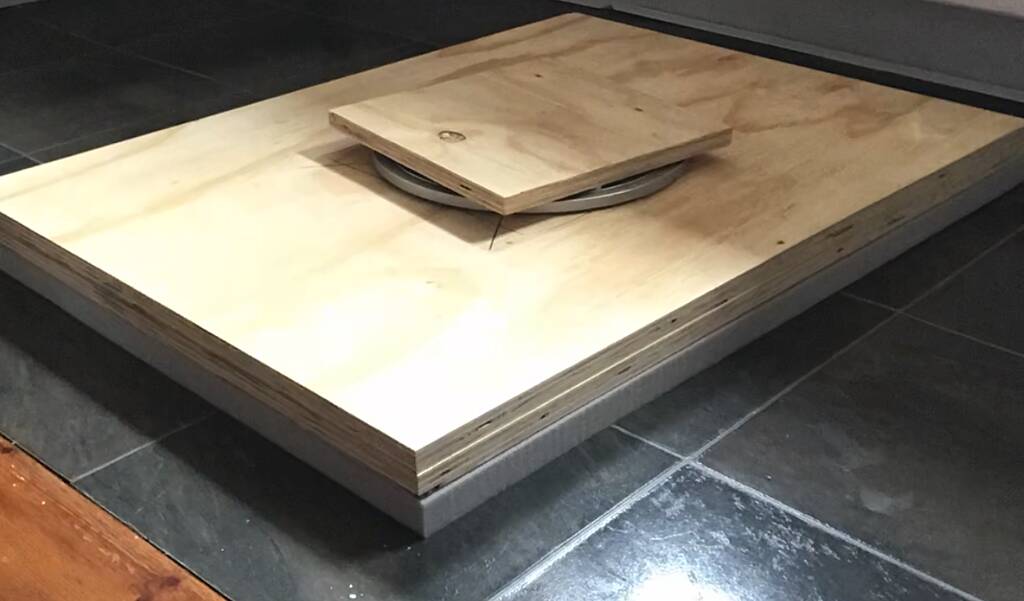
I bought 2x boards at 24x32” (¾” plywood) and glued and clamped them together.
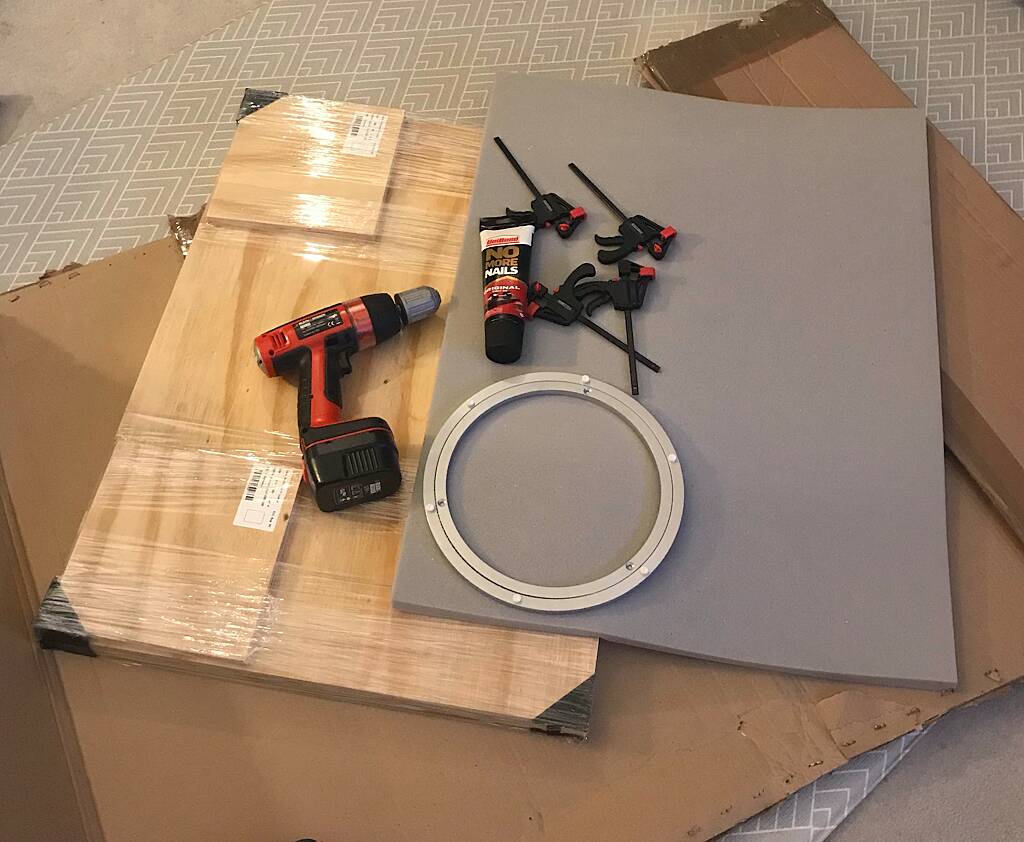
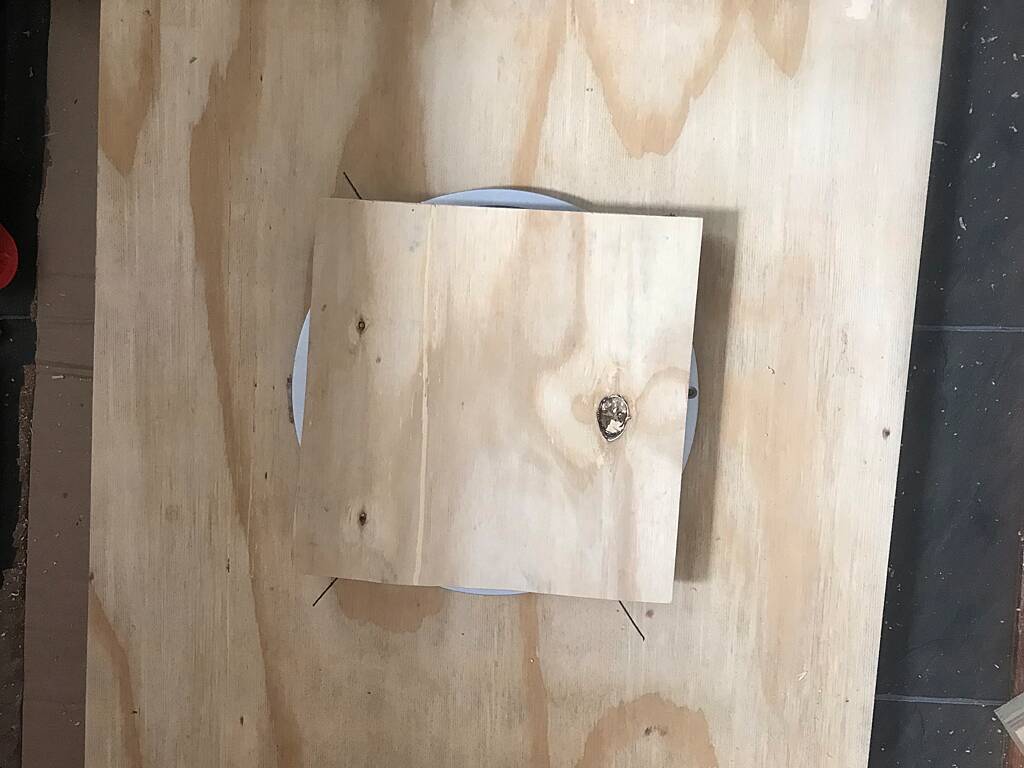
For the size of the board, I chose a 12” Lazy Susan. To get the size of the smaller board, measure the inside ring diameter and get that size as a square. Clamp the LS to the board and screw the inside ring to the small square board. Glamorous assistant optional.

I put 12 screws in the 2 large boards to make sure they were secure, then turned it over and found the middle by measuring from one corner to the other and drawing a cross in the middle.
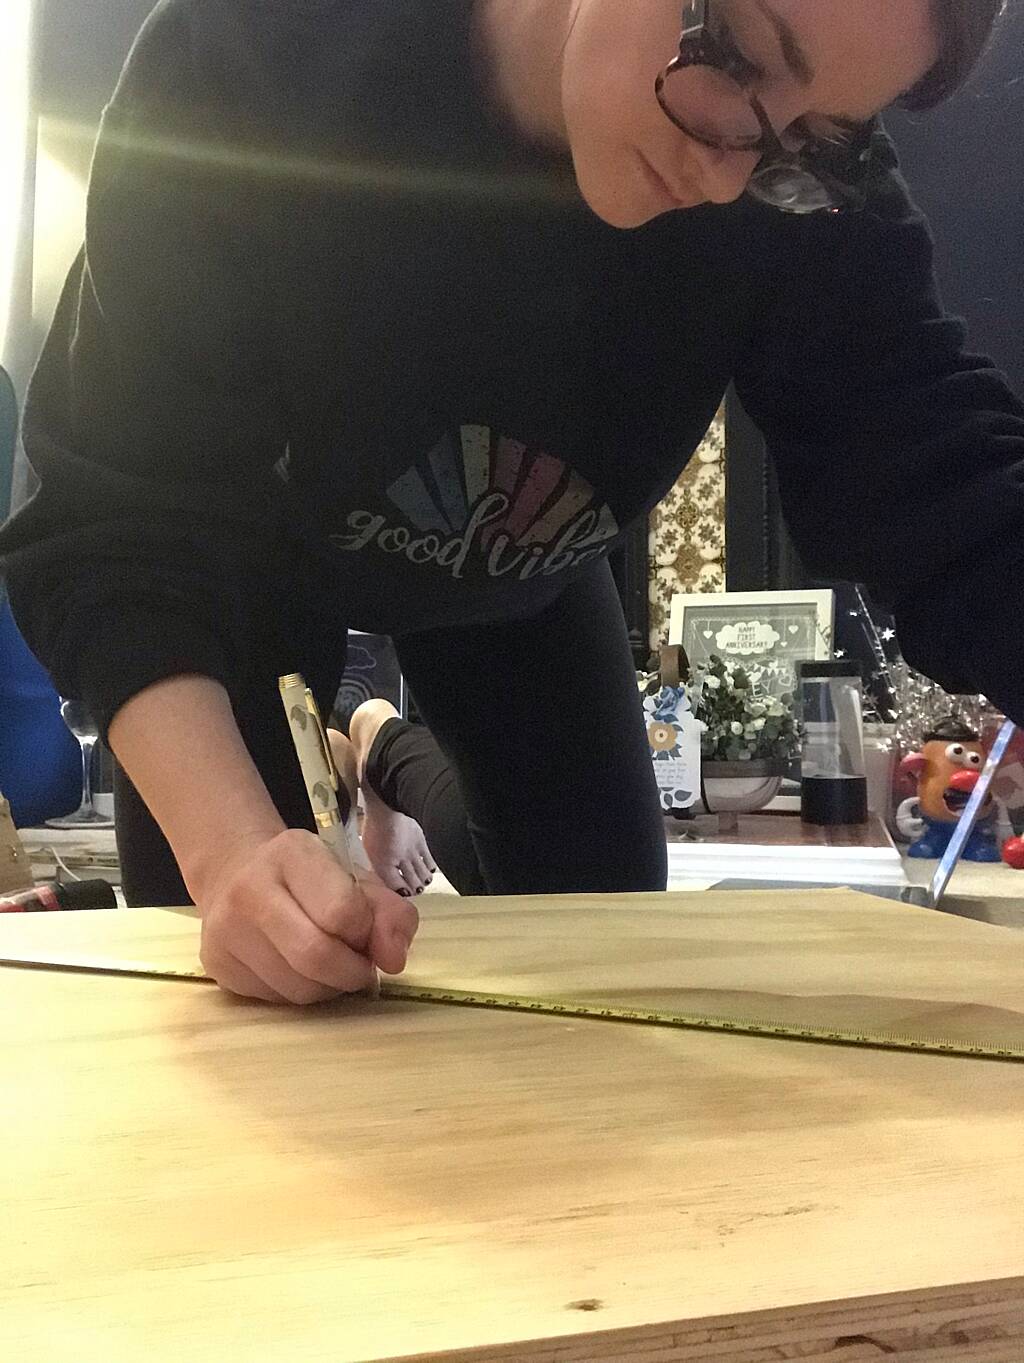
Next you need to make sure that your bottom plate is directly in the middle, so divide the small board diameter by 2 and measure through the centre point both diagonally and vertically…
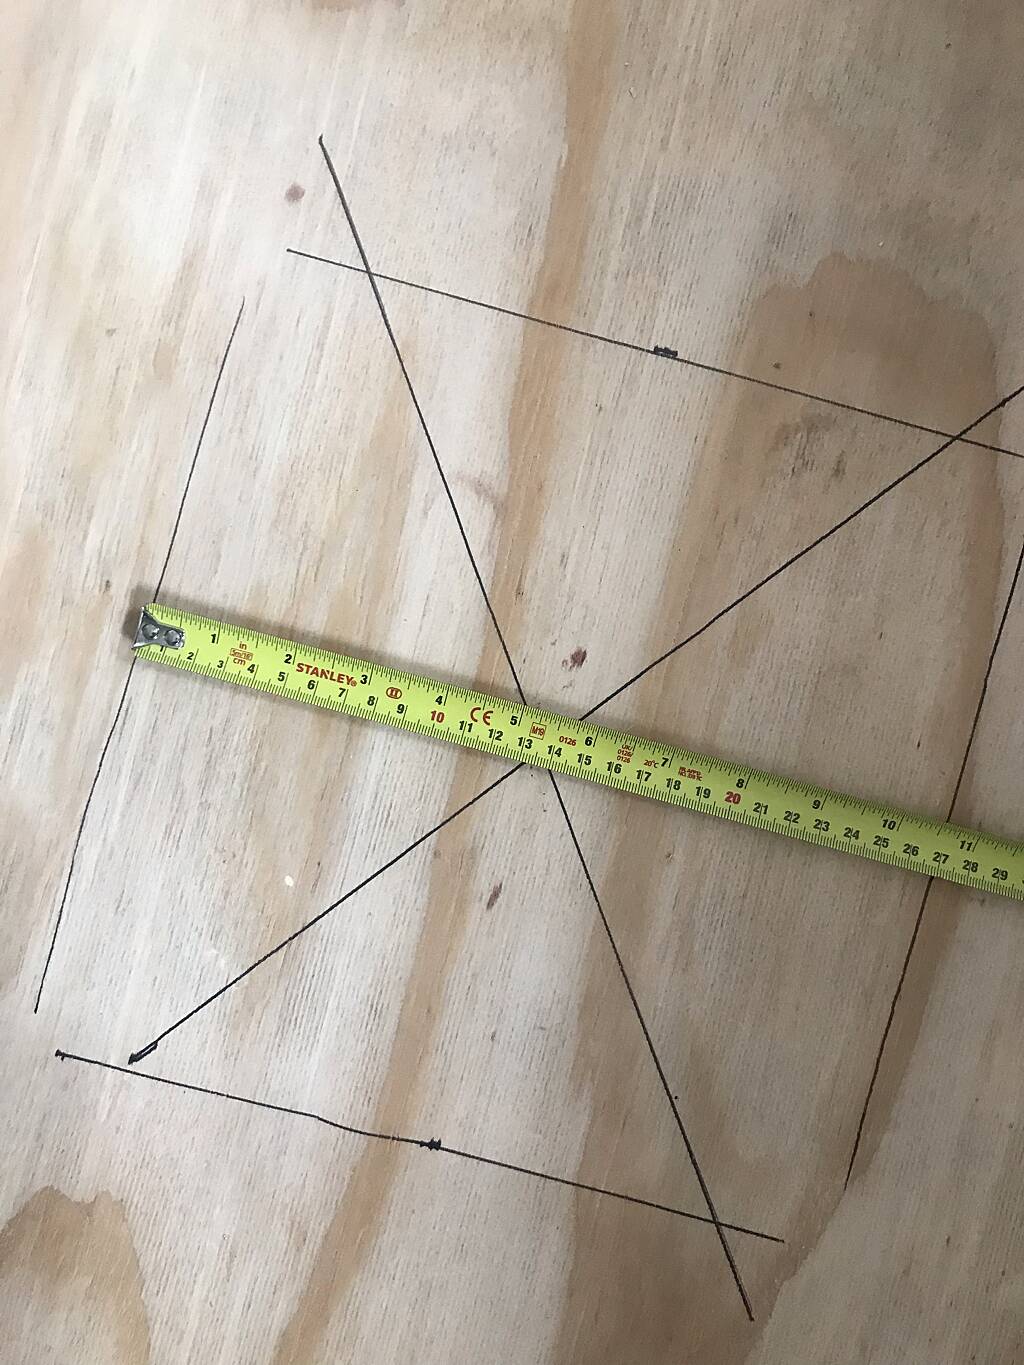
…making sure that your centre point is exactly half and then screw in the outer ring of the Lazy Susan to the top board.
Glue on the foam to the top of the board (I got mine pre-cut and chose a luxury reflex foam at 1” thick).
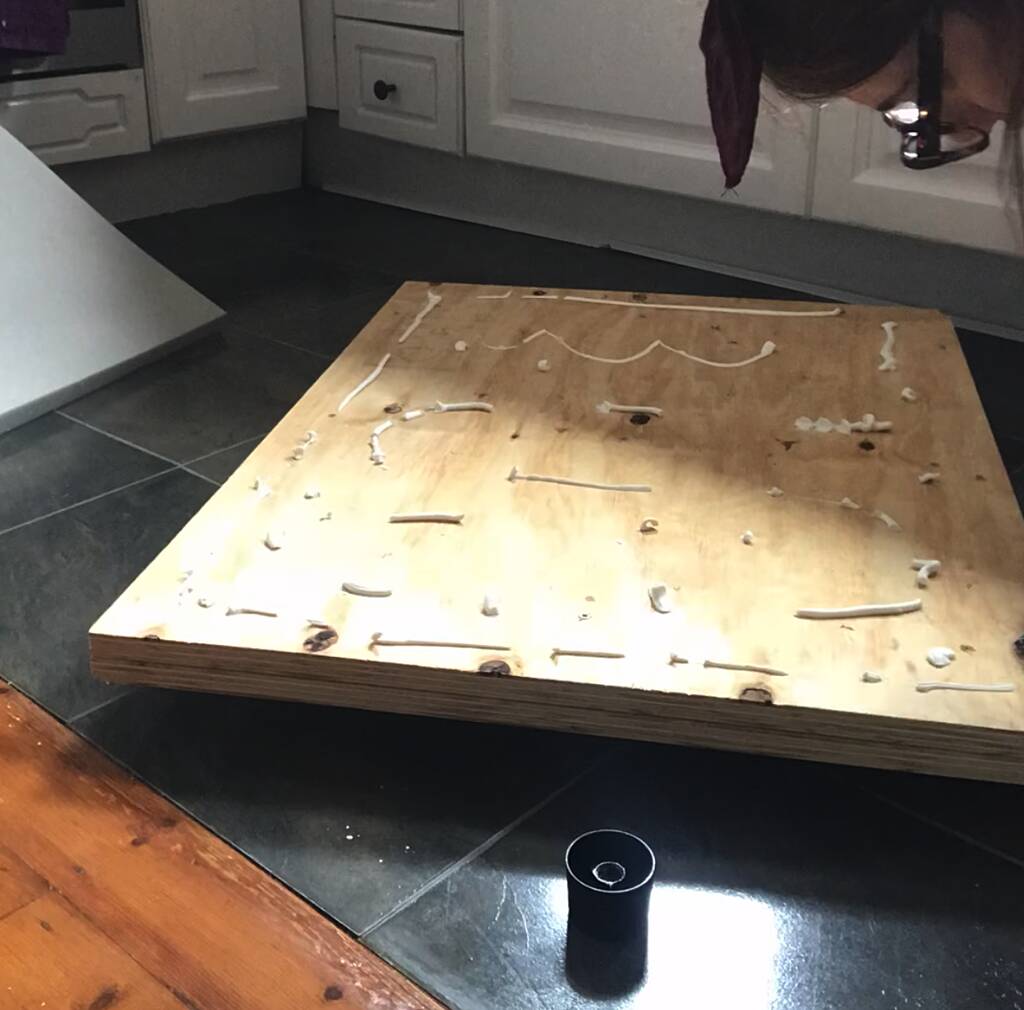
Leave it to stick depending on instructions. Turn it over and used the weight of the board to help make sure it dries flat.
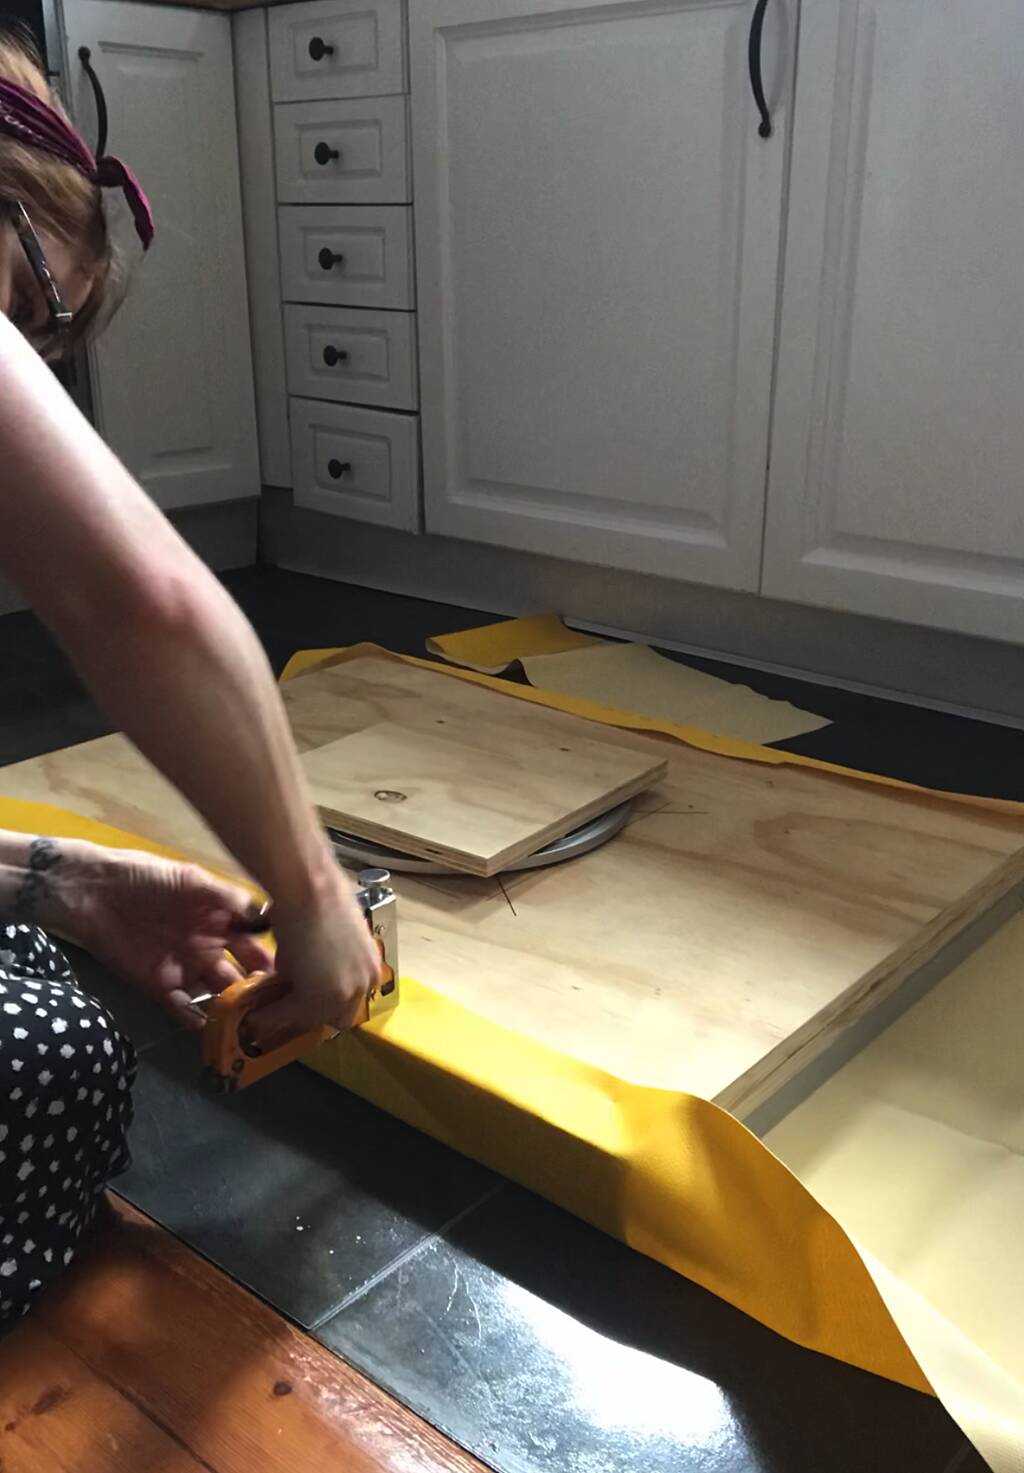
I covered mine with vinyl wipe clean fabric (like what you cover soft play with) but you can cover it with any fabric you like, and used the staple gun to attach it to the underside of the board but if you don’t have one, you could probably use a small fitted cot sheet (have a check of the sizing but it’s about the same size as Evelina’s old Tutti Bambini crib).
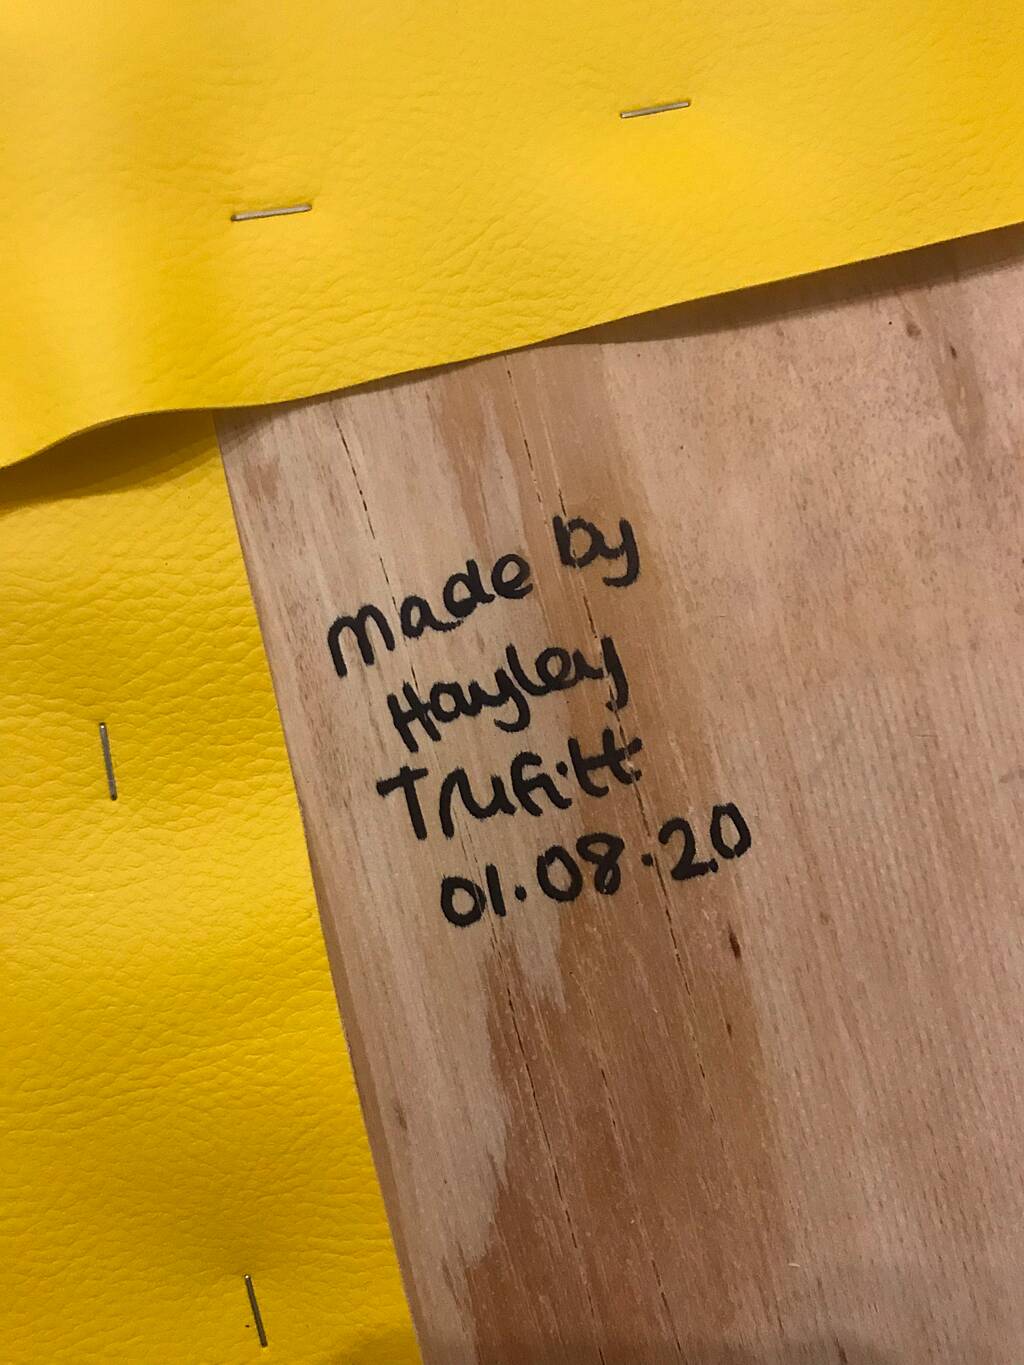
Not essential but I was very proud of myself so I wrote my name underneath!!
Sit back and enjoy stress free spinning! (and one more good thing - it’s not very wide so can be stored nicely behind the sofa, so we’re not tripping over MORE equipment all day.)
Details below: (click for links)
Wooden Boards
- 2x boards at 24x32” (¾” plywood)
- 10.5” board (¾” plywood): £36.91 + £9.95 (delivery)
- Total: £46.86 inc. VAT
- cutmyplastic.co.uk
Lazy Susan 12”
- £16.99
- Amazon
Foam to cover 24x32” (luxury reflex firm)
- £6.73 + Delivery: £7.95, VAT of £2.45 included.
- Total: £14.68
- anyfoam.co.uk
Vinyl fabric
Tools
- Staple gun
- No More Nails (or similar)
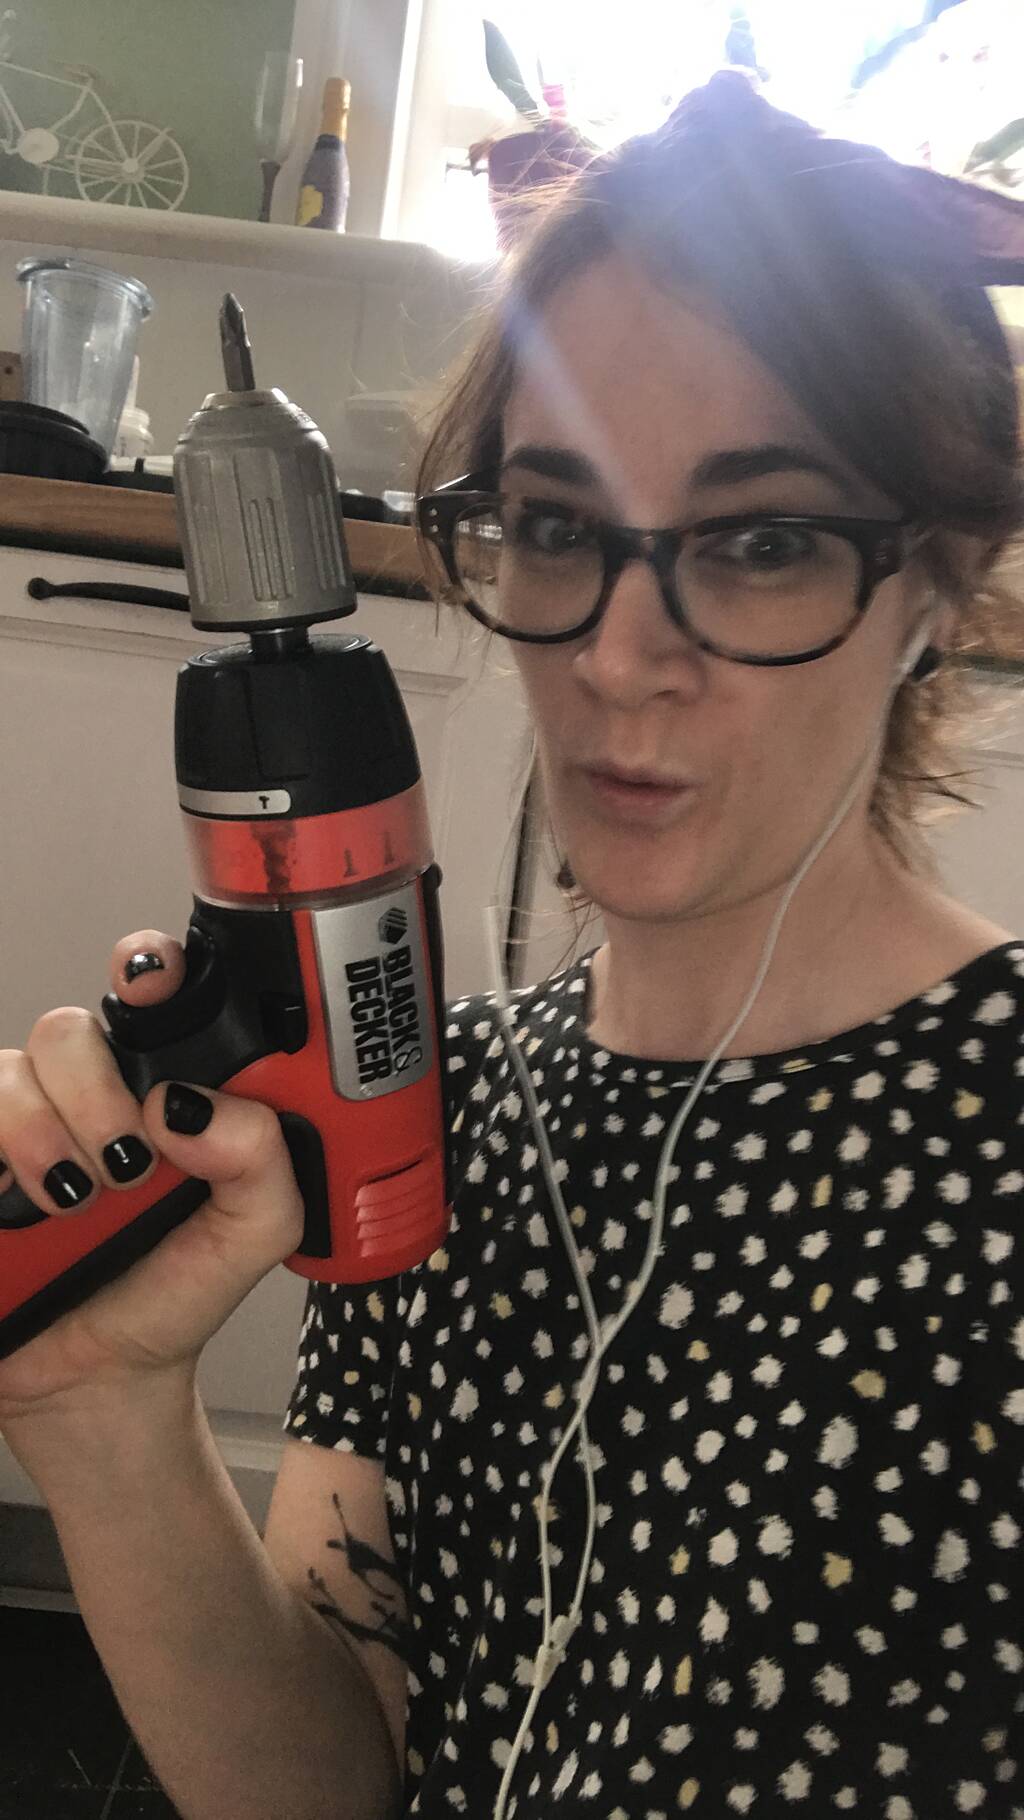
- Drill
- Clamps
Let me know if you make it, I’d love to see it!! I’m @dear_evelina on instagram.